Our Favorite Food Photography Tips/Hacks
- Restaurant
- 07.22.19
- 5 Min Read
Hi – it’s me again, here to talk about something related to taking pictures.
Over the last four years, I’ve had many opportunities to work on my skills as a photographer. Recently I’ve photographed a lot more food than people. And while food can sometimes be easier to shoot than people (a salmon patty isn’t going to complain about its hair or tell me it’s sorry for slouching), you definitely have to be a lot more meticulous.
We’ve gotten to shoot a plethora of packaging and recipes (including two cookbooks) for clients recently. I’ve learned a lot of stuff along the way; most importantly if you look away from the broiler for any amount of time longer than two seconds, your food will burn. I also got the chance to test out all those fancy food photography hacks from around the internet.
So here are my top tips and favorite hacks for photographing food:
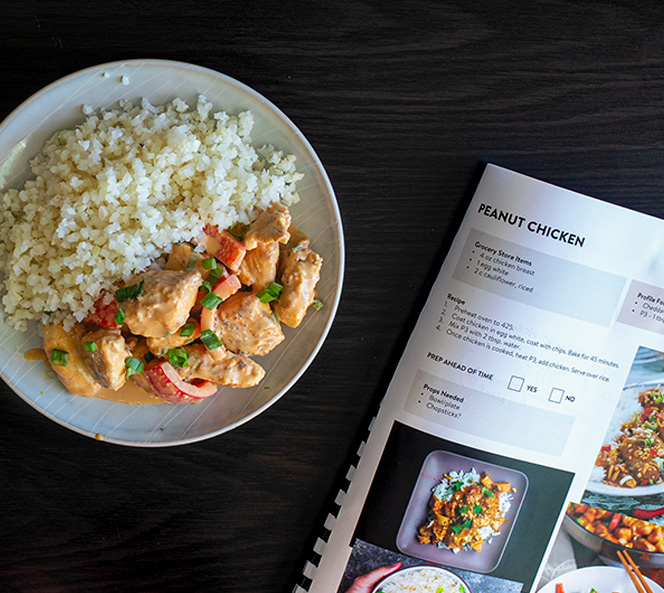
1. Make a Shoot Booklet
Because we use a super nimble team on these shoots, making it as easy as possible is crucial. We’re not only photographing the food, we’re also testing, prepping, cooking and styling. We always prep a shoot booklet with each recipe and a few styling inspiration photos. This makes it easier for one of us to cook/prep (and do dishes…thanks Katelyn) while the other styles/shoots.
2. Lights, Camera, More Lights
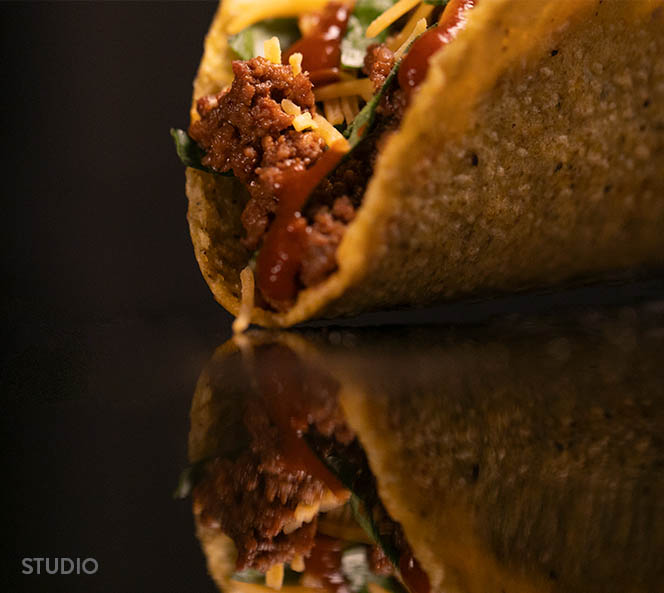
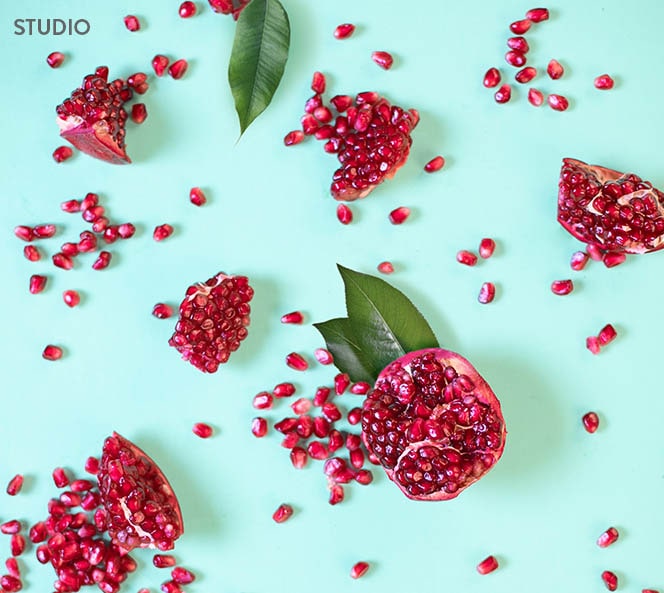
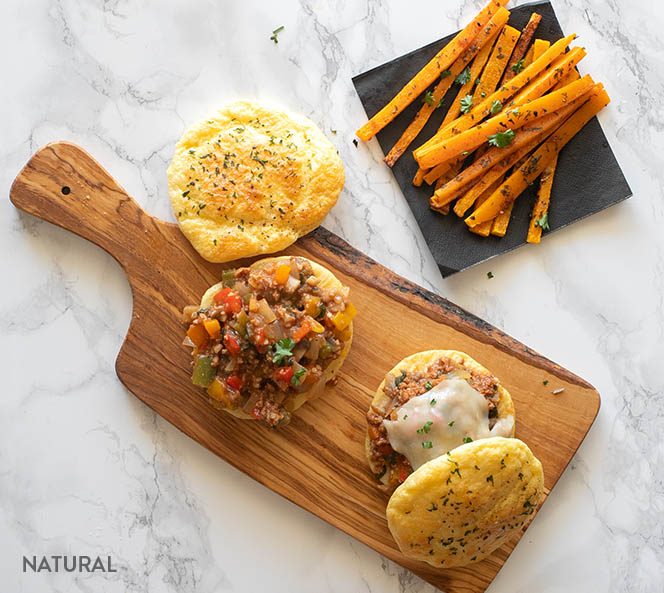
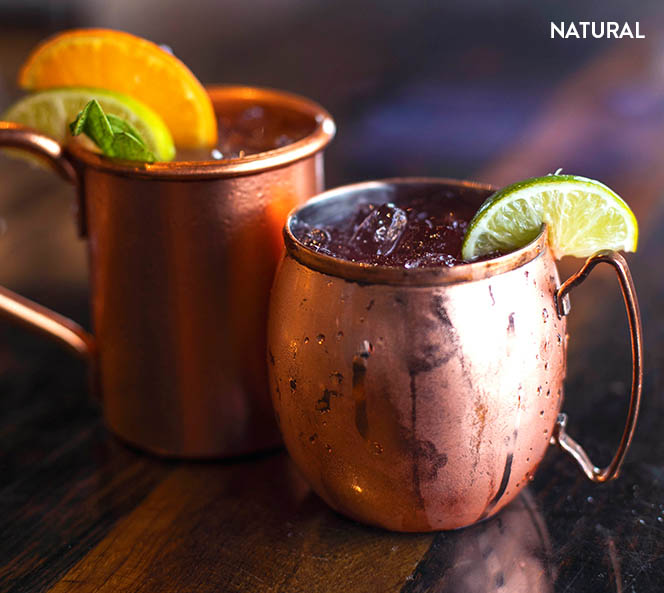
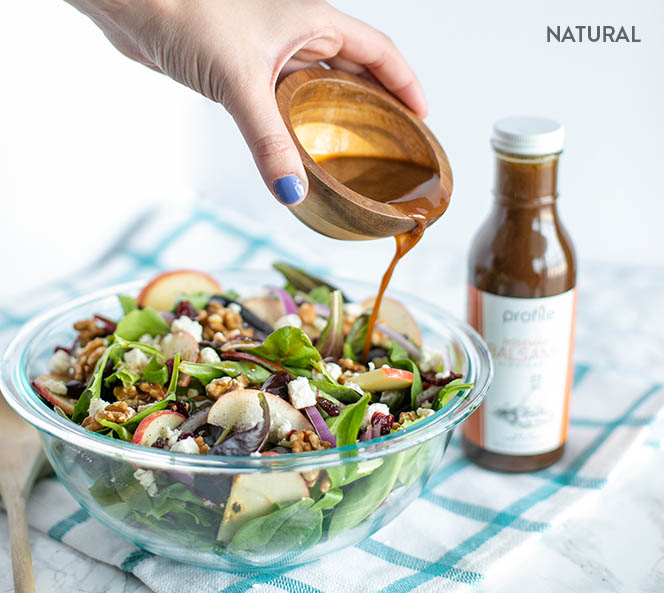
If you know one thing about me, it’s that lighting is very important to me. Food photography is no exception. It might even be more crucial for setting the correct tone for the recipe. Shooting food in natural light is always my go-to for cookbooks and general recipe shooting. We shot both cookbooks in a room with quick access to a kitchen and a big window letting in all that natural light. We shot our second cookbook during winter, so our hours of sunlight were limited. Make sure if you’re dependent on natural light that you’re budgeting your hours like a boss. If you need a more dramatic look, grab your studio lights and make it happen. Shooting in the studio allows for a more controlled setting – the best way to shoot food for a major campaign.
3. If You Step Away from the Broiler, it Will Burn
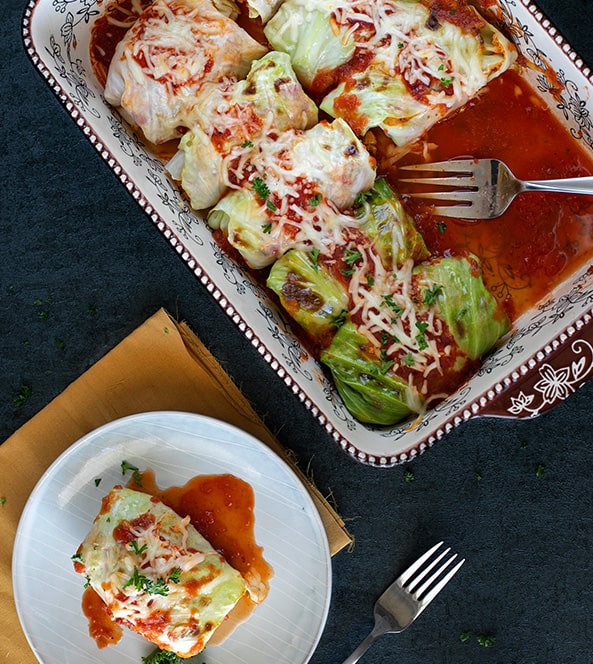
Did we ruin a whole tray of chicken/cabbage enchiladas trying to broil the cheese to perfection? Yes, we did. Did we wrap them so beautifully that we could flip them over and try again without wasting food? Heck yes we did. This tip is a two-parter. First, never leave the broiler. It’s just in your best interest to broil with extreme attention. Scream “BROILING” at the top of your lungs so everyone on set knows. Second, be ready to roll with the punches. Cooking is a science, but we’re only human. Despite watching hours and hours of Food Network and Gordon Ramsay, I’m sadly no professional chef. Mistakes happen. Your tomato cream sauce may not work out like the recipe said it would. Learn to be adaptable and walk into situations with a problem-solving mindset.
Now for the fun ones.
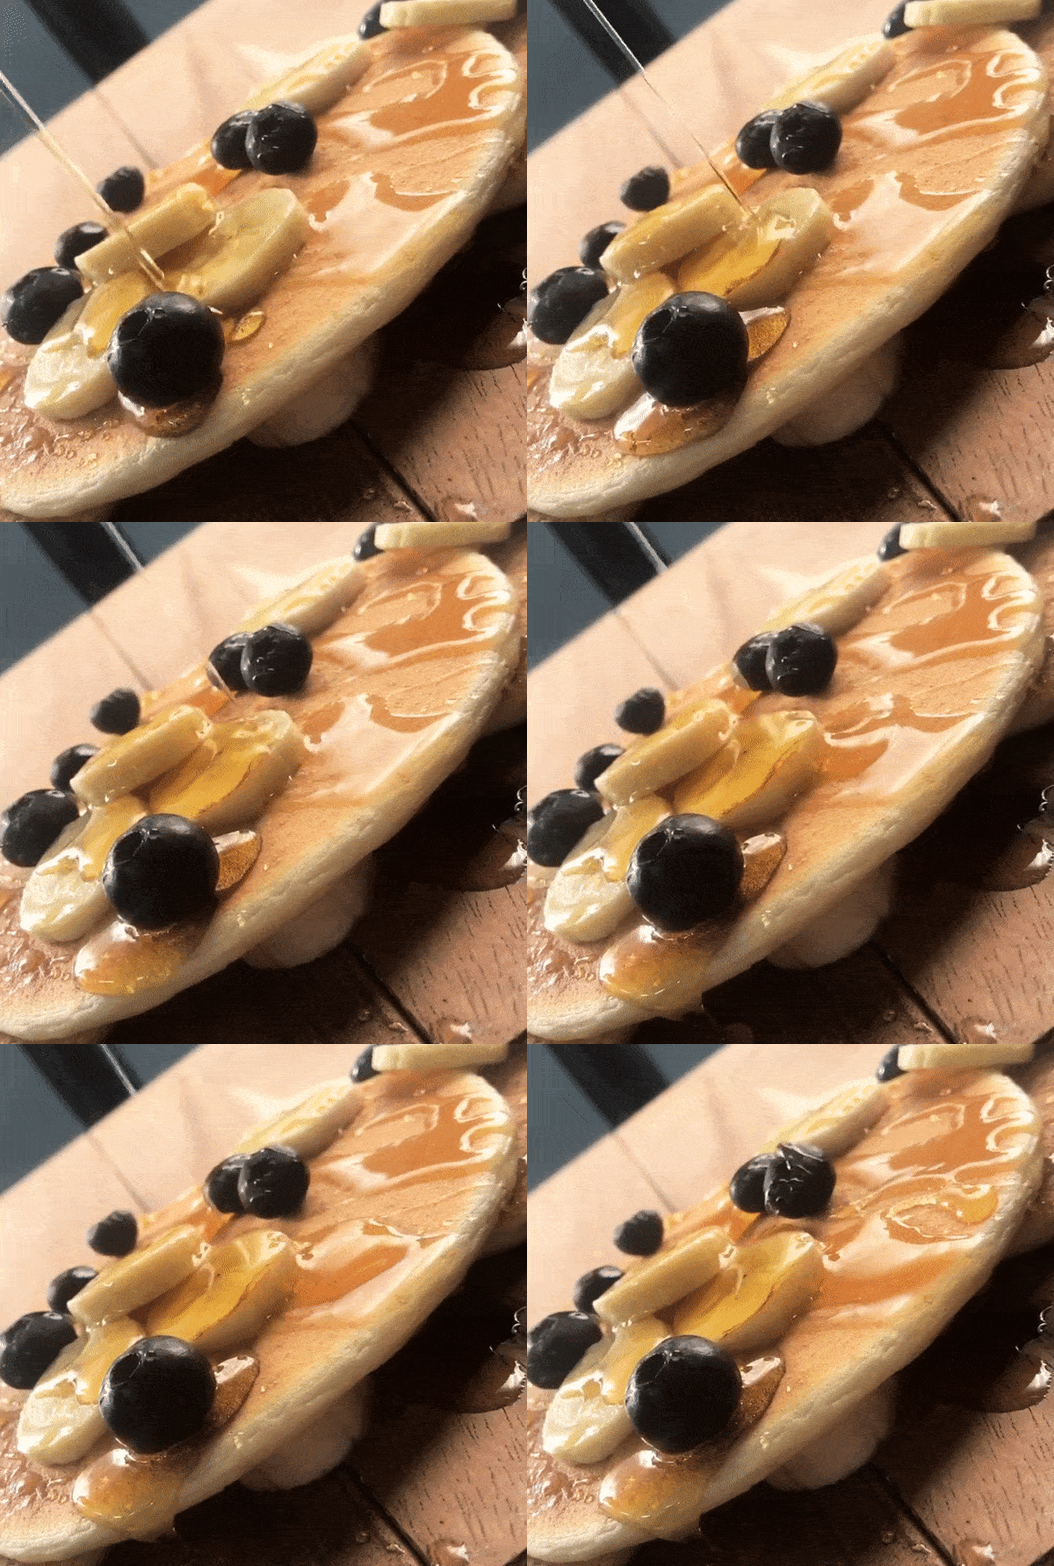
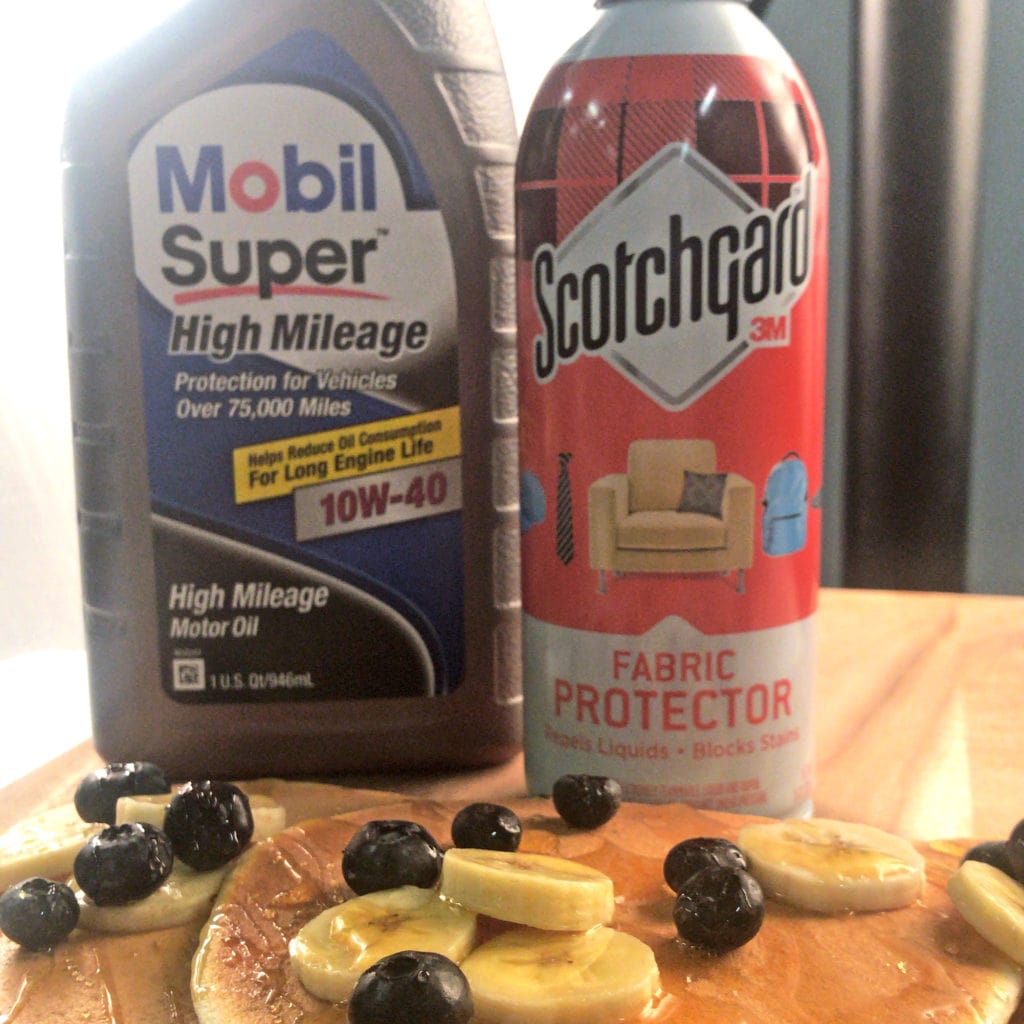
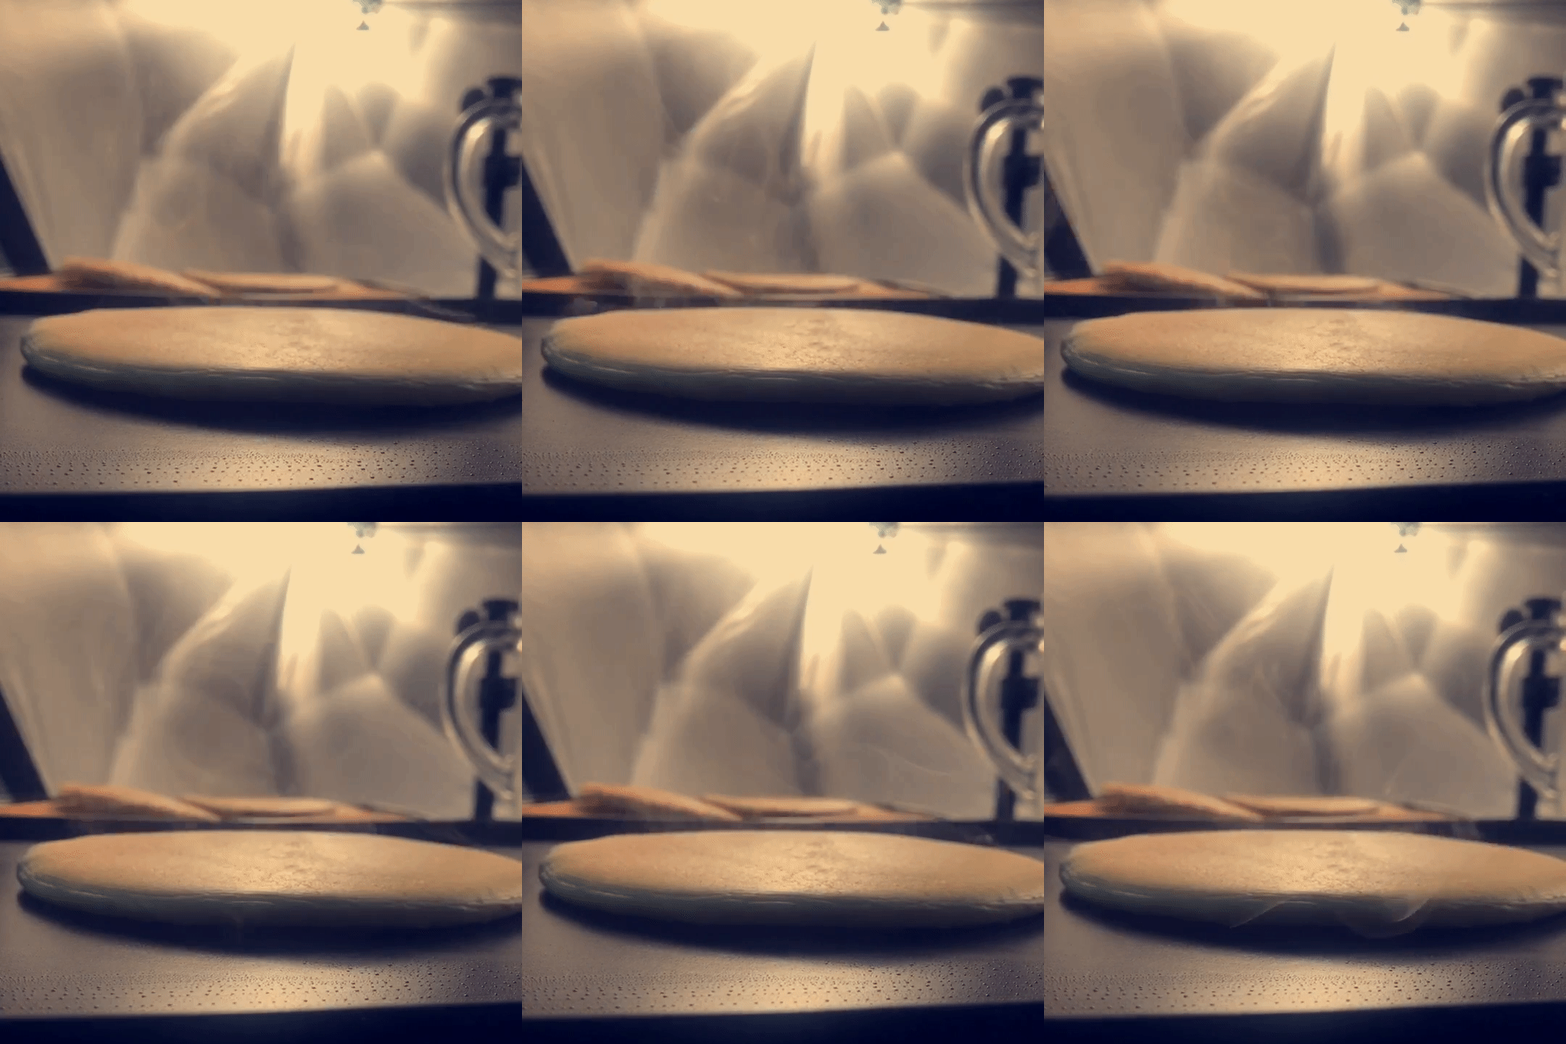
4. Motor oil + Scotchgard = Inedible Pancakes but A+ Photos
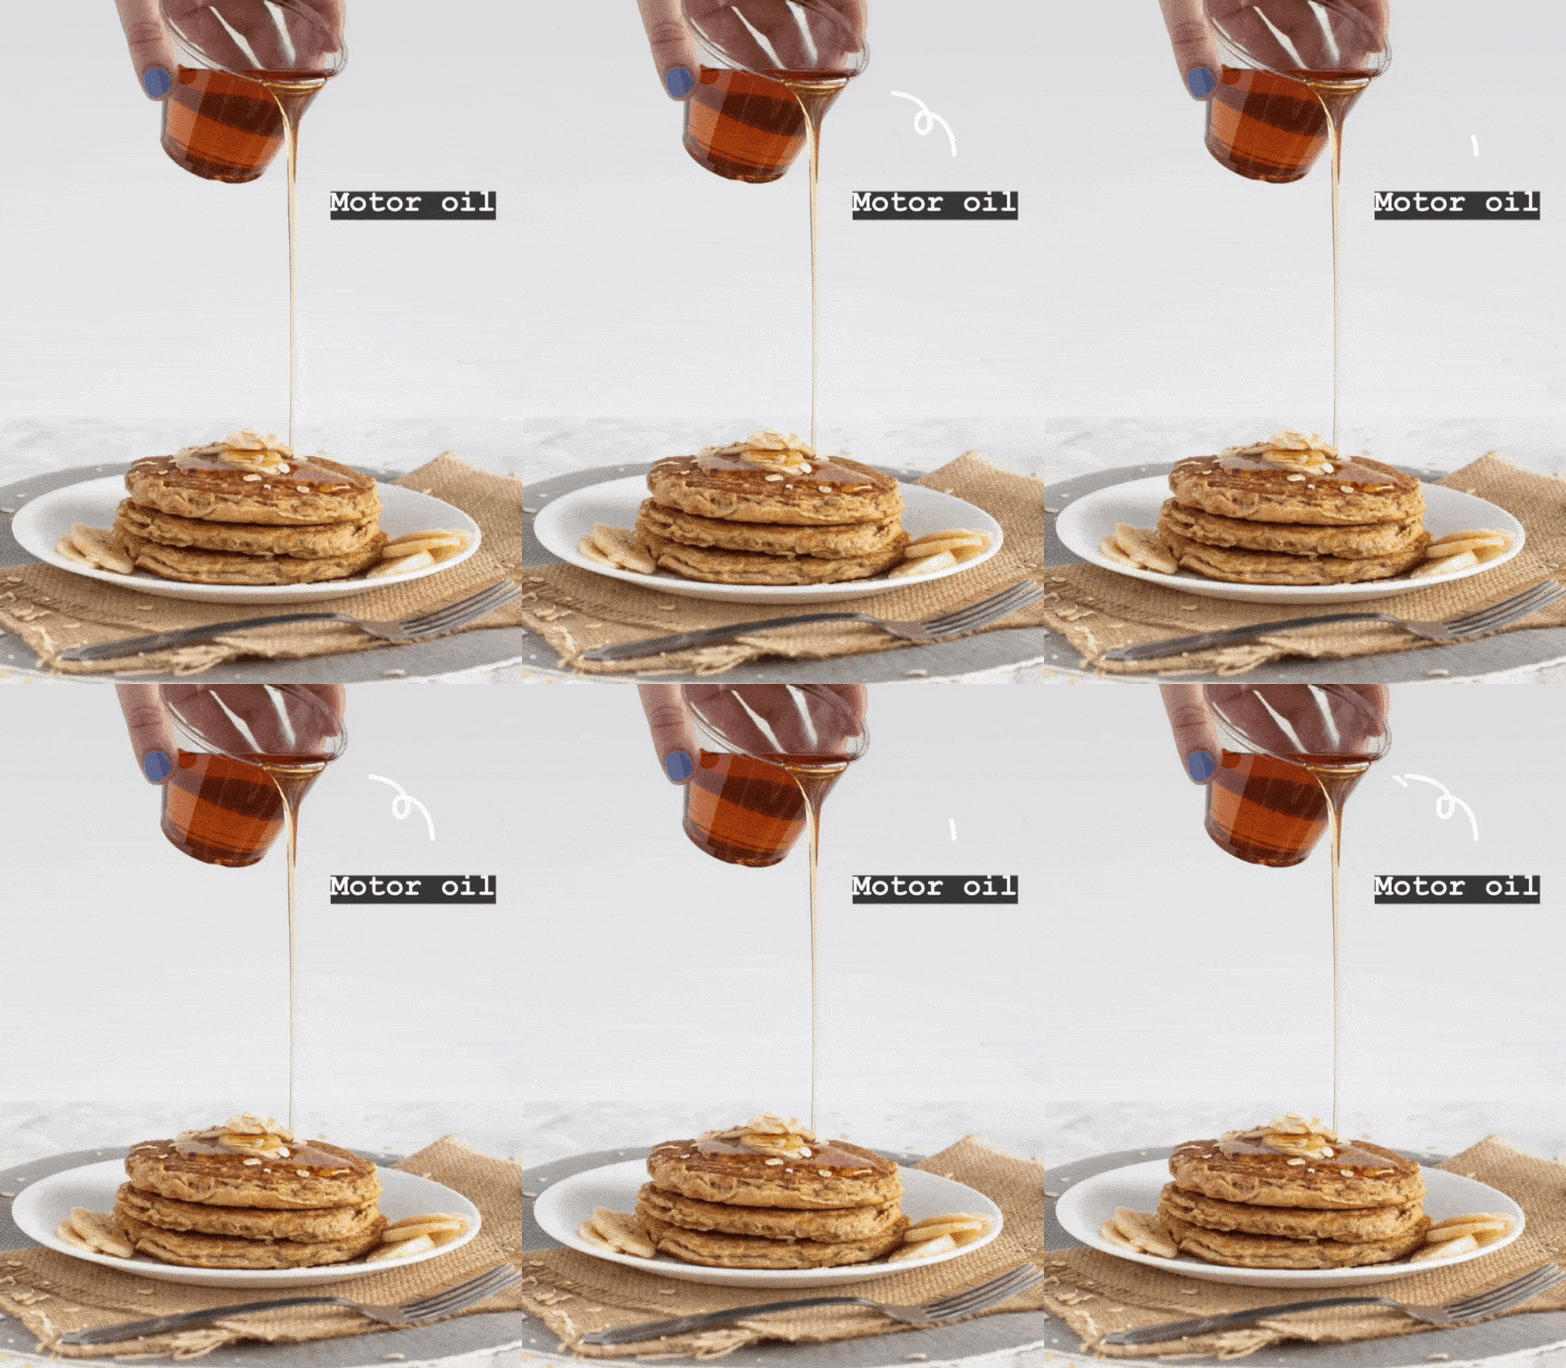
This is the weirdest hack I’ve tried, but you gotta do it for the flapjacks. Syrup is finicky, thin and sticky. It soaks into pancakes quickly and doesn’t leave much time for beautiful photos. Enter motor oil and Scotchgard. Scotchgard keeps your liquid from soaking into the pancake. Motor oil is thicker than syrup, so it doesn’t soak into your pancake right away – it has a higher viscosity. The higher the viscosity, the better.
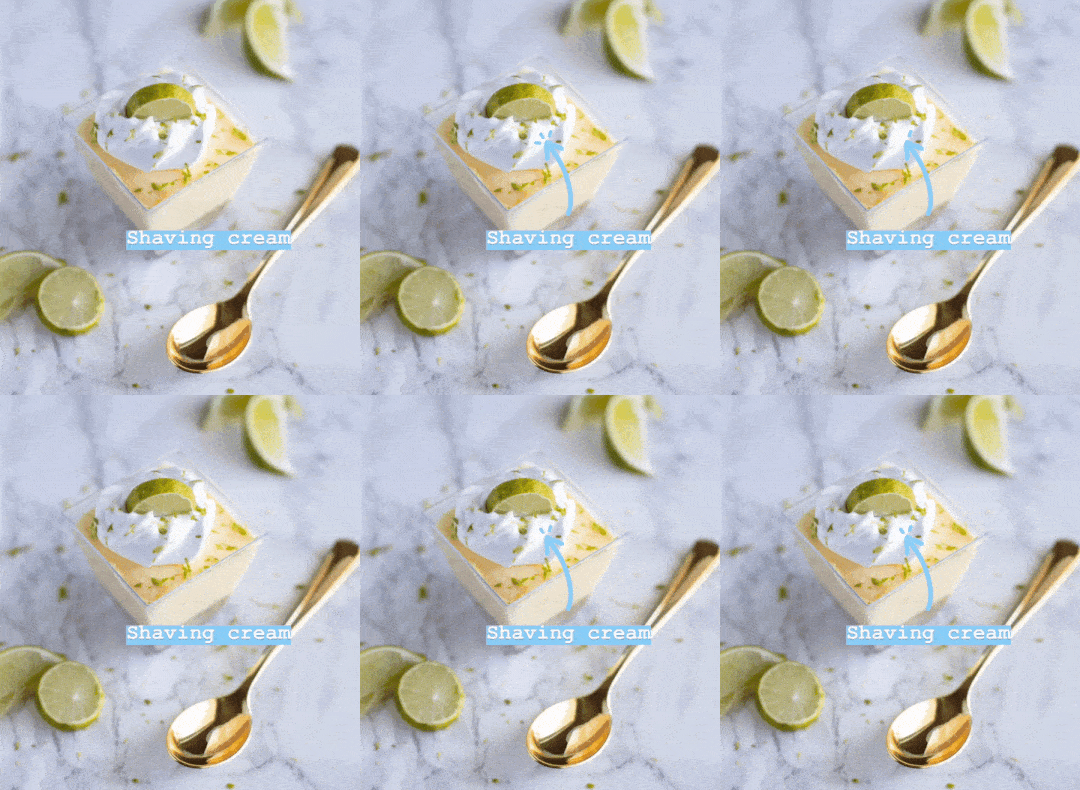
5. Shaving Cream = Whipped Cream
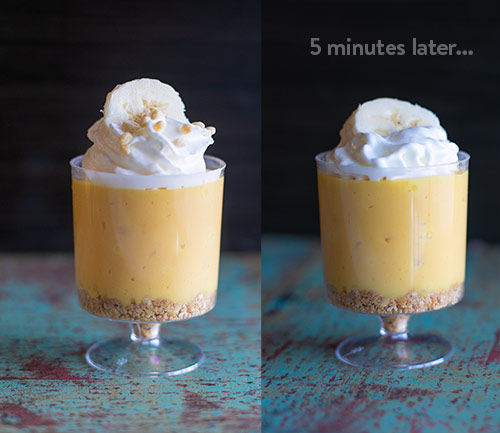
Picture it: you’re cooking four or five dishes in the kitchen. It’s hot. Suddenly you’re prepping a recipe that involves whipped cream. You place it perfectly and precisely, but before you know it your beautiful dollop is deflating and melting. Take a long, hard look at your choices.
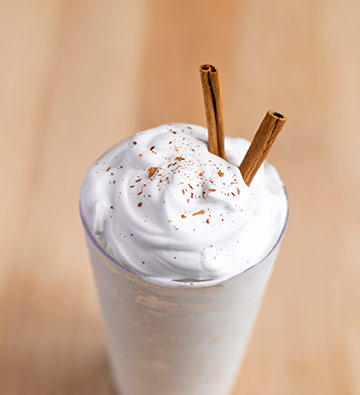
Try it again, but skip the dairy. Shaving cream behaves exactly like whipped cream without the melting.
6. Toothpicks Save Lives
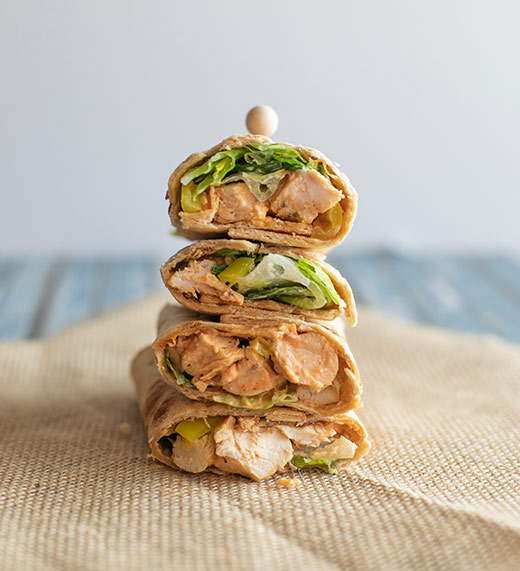
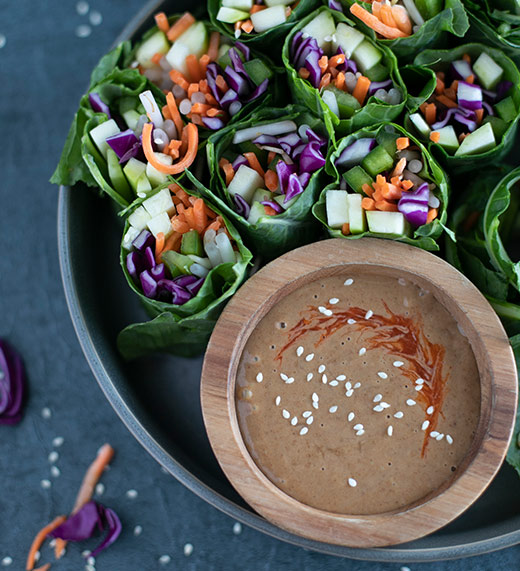
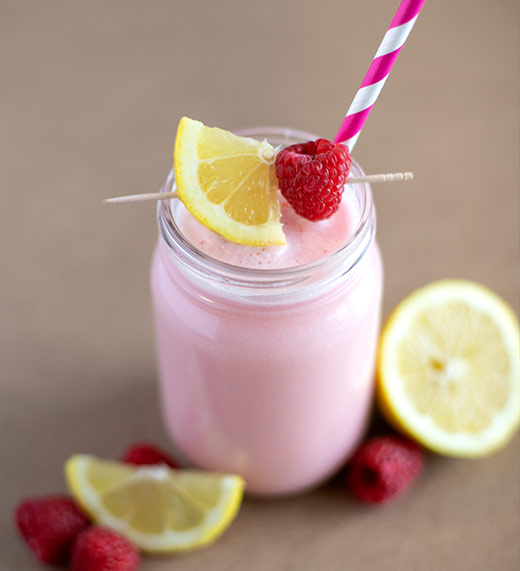
Toothpicks: the unsung hero of any food shoot. They come in all shapes and sizes, ready to save the day. Use them to hold up your garnishes on drinks, keep your wraps in place or cluster your spring rolls together in a tight bundle. They’re also great for the nitty, gritty elements of food styling. Is one single sesame seed out of place? Toothpick. Need to swirl a beautiful design into a sauce? Toothpick. Need to fluff your shaving cream from the last hack? You guessed it, toothpick.
7. When in Doubt, Fill it with Mashed Potatoes
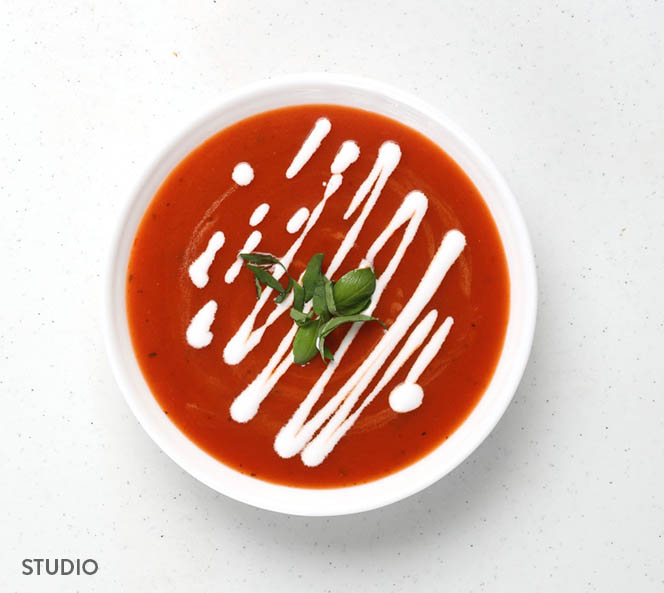
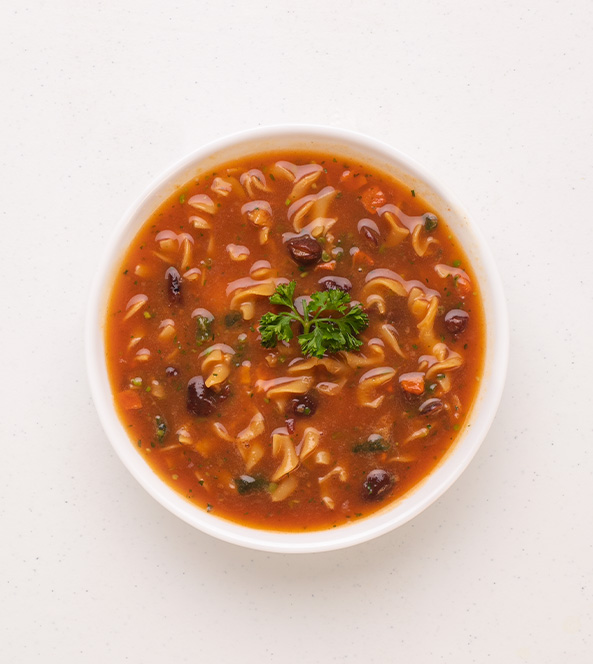
This is a gem I picked up from some friends with years of experience making tacos like it’s an art. While my co-workers were using it to fill up the backs of their burritos, I found it the most helpful when shooting soups. It’s not as pretty when all the veggies and herbs sink to the bottom of the bowl. Fill the bottom of the bowl half to two-thirds full of potatoes, and voila! All the goodness stays at the top and you don’t have to use as much product. Styling made simple.
8. Milk Makes Cereal Soggy, Hair Product Does Not
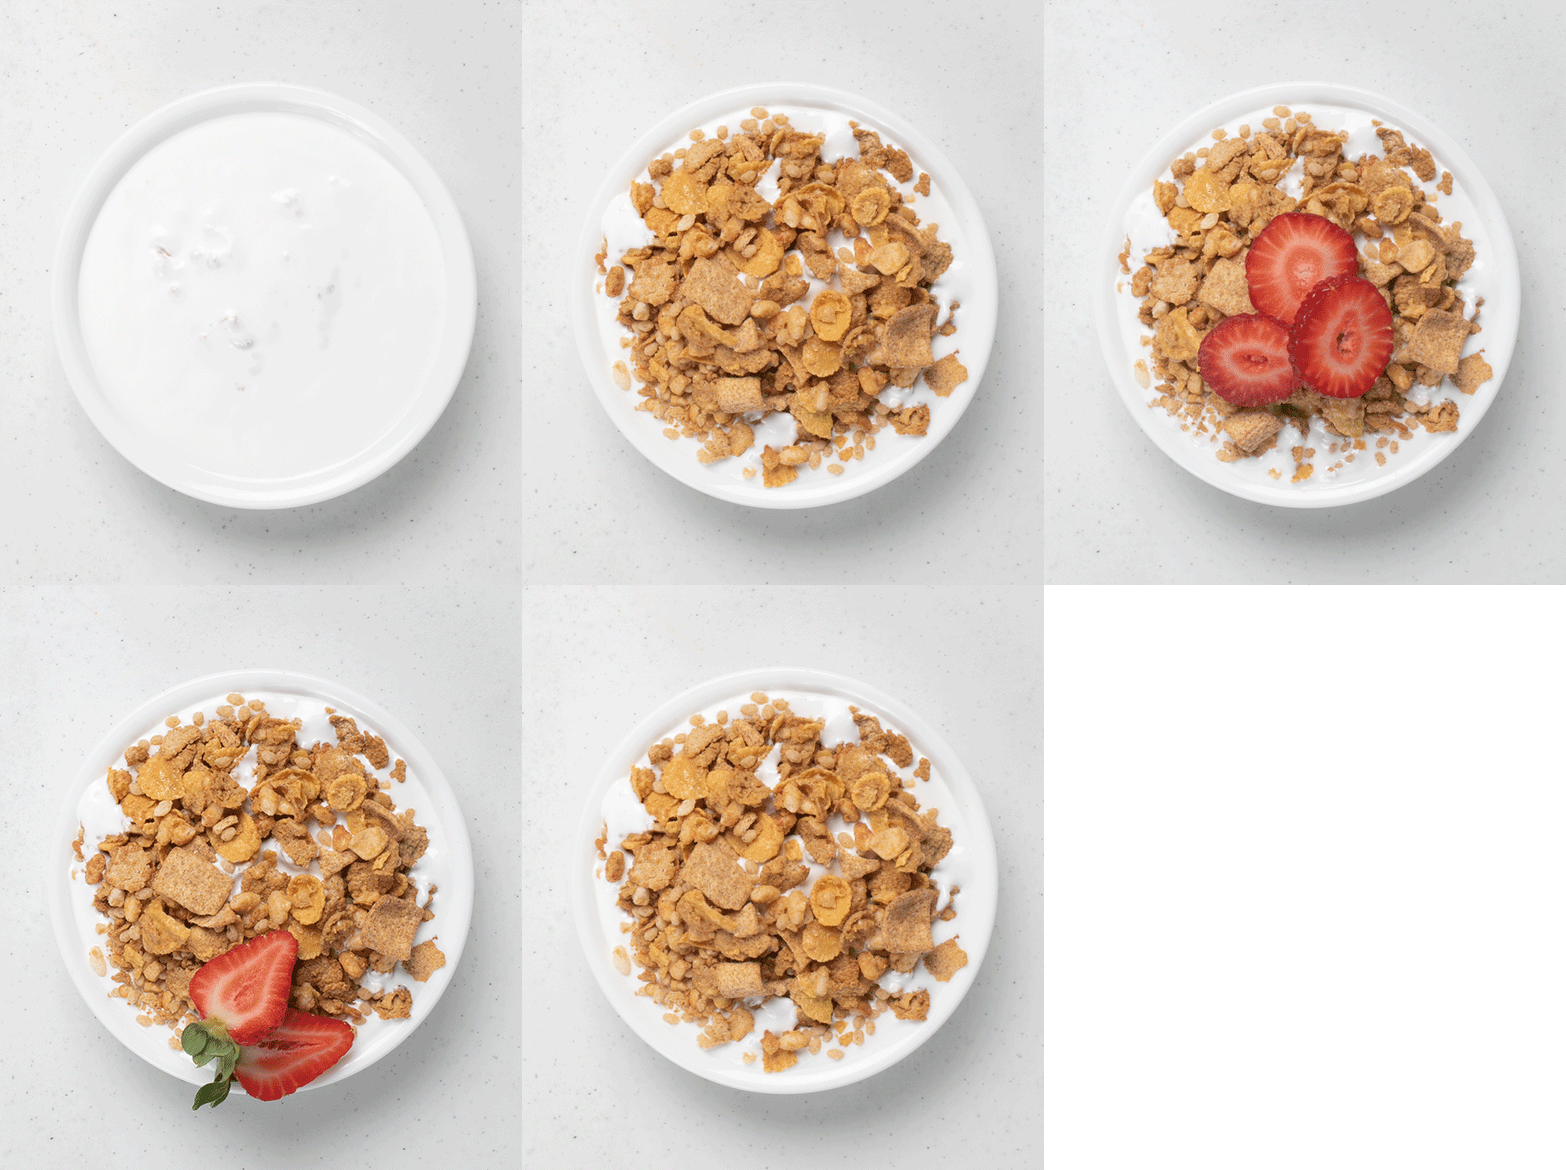
Through multiple rounds of internet sleuthing, I found two options for photographing cereal in milk that didn’t actually include milk. Option 1: glue. Good old-fashioned Elmers will do the trick. But since we were using bowls from my kitchen, I was wary about putting glue in them. Option 2: hair product. I found a couple blogs that swore by this product called Wildroot Hair Groom, and honestly, I’m a believer. It didn’t soak into the cereal, everything stayed in place, and it allowed me to shoot multiple variations of garnish.
9. Leave it Raw
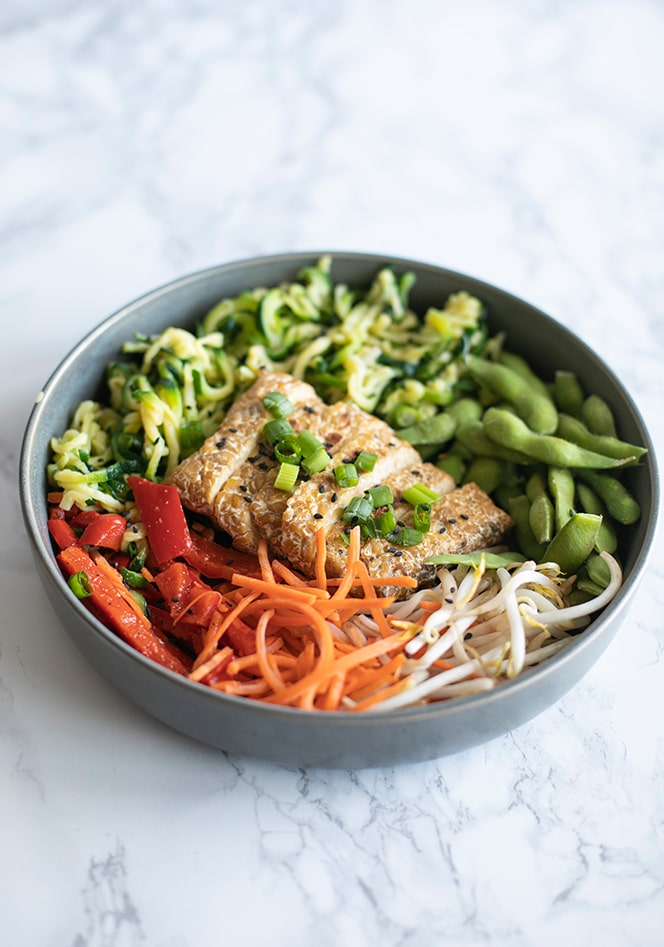
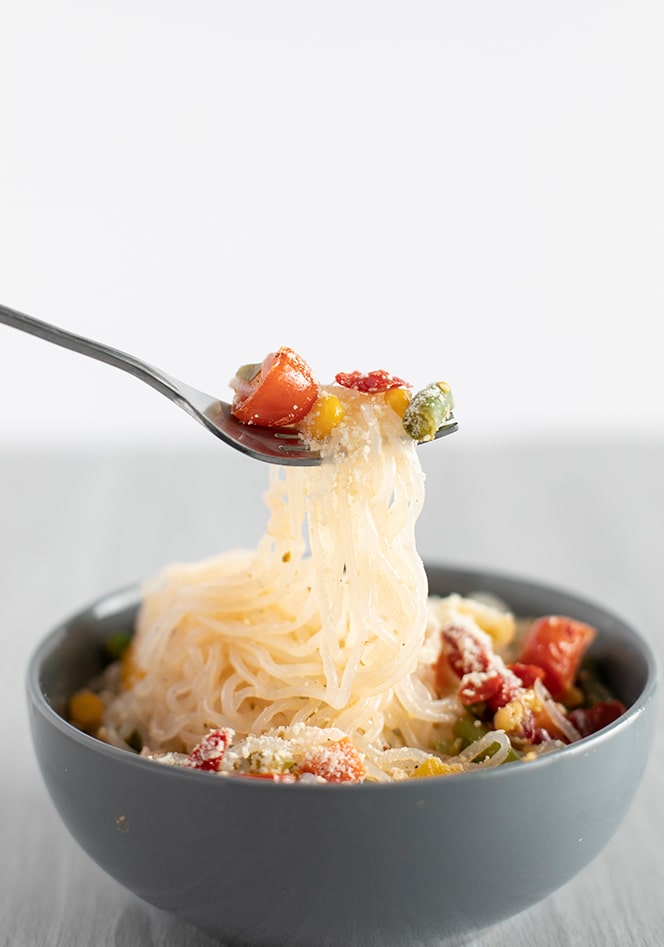
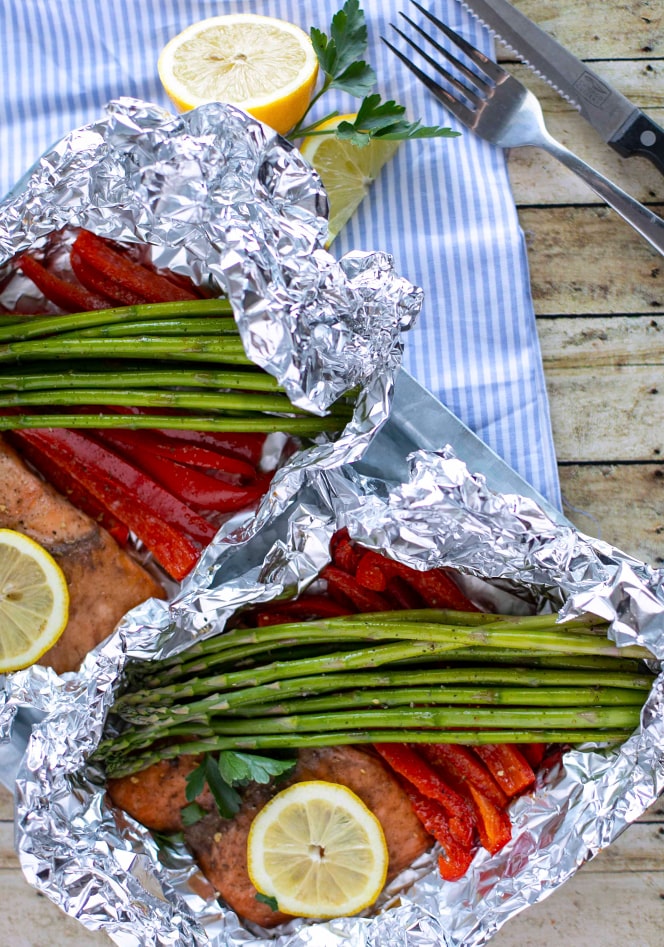
This one was a trial-by-error find. I’d read about leaving large pieces of meat (specifically poultry) raw and painting them to maintain their shape and size. I wasn’t shooting any of those, so it didn’t matter much. Guess who was wrong? This kid. It didn’t take us long to figure out that most vegetables look better if you leave them raw, adding a little olive oil and seasoning. Our asparagus didn’t shrivel and was reusable for less waste. We also found it particularly helpful with pasta. It was easier to handle and style.
And there you have it – a small portion of what I’ve learned in my venture into food photography. To see a piece in action, check out our packaging work sample.


